1
Configuring and installing the WireLess
Deployer Client
2 Verifying the Agent status
3 Updating packages on the mobile
unit
4 Checking mobile units
5 Sending text messages
6 Adding packages to
the WireLess Deployer Console
7 Groups and Sites
8 Blocking mobile units
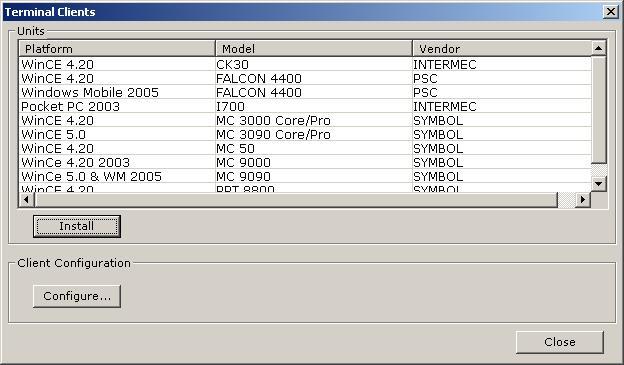
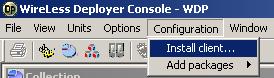
Open the WireLess Deployer Console. Go to "Configuration" menu and select "Install client" option:
Other window called "Terminal Clients" will appear. On this window you will see a list of available clients with their platform, model and vendor. Please check that the version displayed in the unit information matches with the platform of your terminal.
*Warning*: the client must be configured before installation.
Configuring the client
Select a client from the list and click on CONFIGURE. Then IniEditor will open and will allow you to customize the client configuration. IniEditor is a program that displays all the configuration options with a complete description and allows to activate or deactivate them.
*Warning*: every time you modify the client configuration you must install it again.
Installing the client
After configuring the client you can proceed to its installation.
WireLess Deployer Client installation requires iPDA and Active Sync utilities. iPDA is automatically installed with the WireLess Deployer package. Active Sync can be downloaded from Active Sync Official Site.
To install the client, connect the terminal to the desktop and verify if ActiveSync is connected. Then, select the corresponding client and press INSTALL button. An installation page will open, where you'll just have to follow the indications to complete the installation procedure.
If the installation is successful, you can finally launch WireLess Deployer on the PDA.
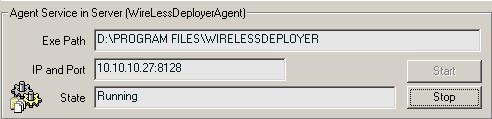
After you installed the WireLess Deployer Client you have to verify if the service is started in the "Agent" window. If the state is set to "Stopped" press START button, and the state will change to "Running".
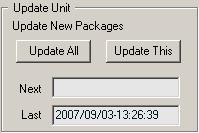
It is necessary to perform an update for the changes made on the WireLess Deployer Console to be applied to the mobile units.
Mobile units update can be manual or automatic. To perform a manual update, go to "Units" window and press UPDATE ALL (updates all units) or UPDATE THIS (updates only the selected unit). To configure the automatic update, open the configuration file located on Start -> Programs -> WireLess Deployer -> Configuration. This file contains a section called "Agent" that includes "AutoUpdate" option, which must be activated to be able to define the automatic update time.
*Warning*: if you select UPDATE ALL the update is made in the mobile units that are "On" and associated to the WiFi network. Mobile units that are "Off" or not associated to the WiFi network will be updated when they get turned on and connected.
If you want to check the information about your mobile units go to the "Units" window.
MU (Mobile Unit): on the columns you can see information about each unit. First of all, you can see the state. If it says "Up To Date", it means that there are no new packages for this particular mobile unit. If the state is "Needed", it means that there are new packages for this mobile unit. Notice that the mobile unit's icon changes its color depending on the state. To update it see Updating packages on the mobile unit. On the other columns you can see the MAC address, the IP, the user ID, the platform, the model, the last update date and time, the last information retrieve date and time.
Last: here you can see the last packages installed in this mobile unit.
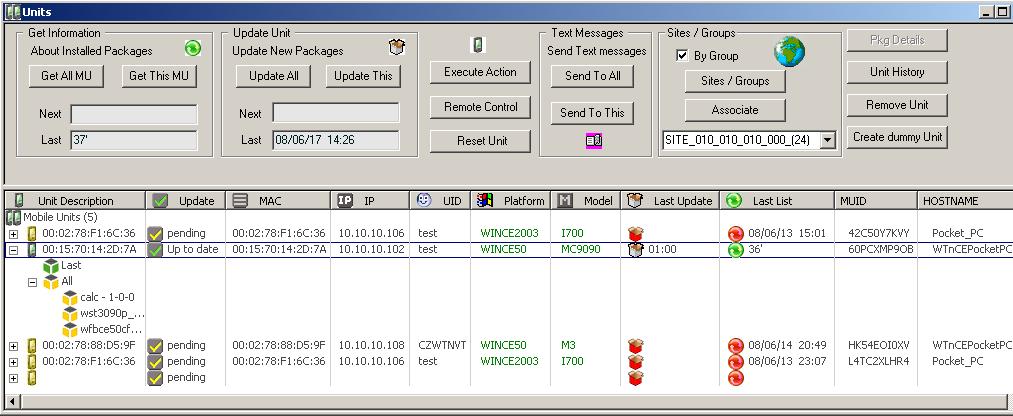
If there is more than one unit connected, you can select GET ALL MU to retrieve information of all the mobile units, or GET THIS MU to retrieve information of a particular one.
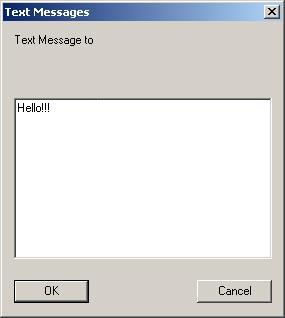
You can send text messages to all the connected mobile units or to a specific one. Go to the "Units" window:
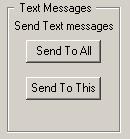
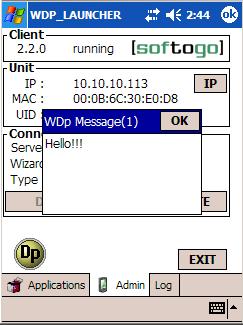
Then select SEND TO ALL if you want to send a message to all the mobile units or SEND TO THIS if you want to send a message to a specific one. Type the message you want to send in the "Text Messages" window and then press OK button. The message will be sent to the mobile unit/s.
|
|
|
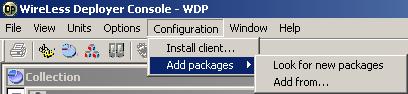
You can add packages to the WireLess Deployer Console through "Add packages..." option located on "Configuration" menu:
There are two possible procedures to add packages:
from a STANDARD directory ("X:\Program Files\WireLewssDeployer\New"), using "Look for new packages" option
from any directory, using "Add
from..." option
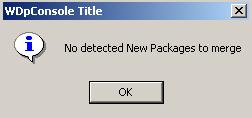
"Look for new packages" option automatically searches "X:\Program Files\WireLewssDeployer\New" for new packages to install. The package is deleted after been integrated to the Console.
If it doesn't find new packages you will see the following message:
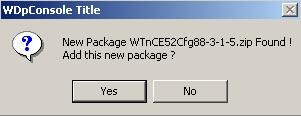
If a new package is found, this message will appear:
If you select NO the following message is displayed:
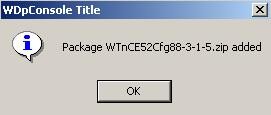
If you select YES the following message is displayed (this is the same message that appears after selecting a package using "Install from..." option):
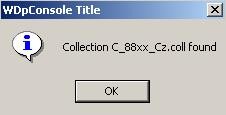
If the package contains a collection (included on the package by default), the following message will appear:
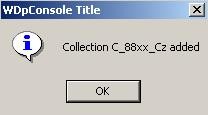
Then, the last message will inform that the collection has been added:
The package was removed from the folder "New", unzipped and added to the collection.
When adding a package that doesn't have any associated collection, the last two messages will not appear. If you want to install that package on a client, you will have to create a collection and add it manually, because packages installation on clients is performed through collections.
"Add from..." option allows to browse for zip files on your PC, so you can add packages from any directory of your PC.
For example, if there's a package in "New" folder (located in "X:\Program Files\WireLessDeployer\New"):
You can browse for it using "Add from..." option and add it just by clicking on it.
The following message is displayed:
On this case, the package contains a collection (included on the package by default), so the following message will appear:
Then, the last message will inform that the collection has been added:
The package was removed from the folder "New", unzipped and added to the collection.
When adding a package that doesn't have any associated collection, the last two messages will not appear. If you want to install that package on a client, you will have to create a collection and add it manually, because packages installation on clients is performed through collections.
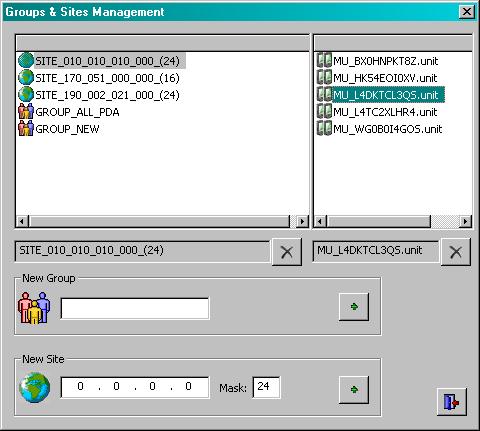
WireLess Deployer allows to create two kinds of groups of units: groups and sites. Click on SITES/GROUPS button, on "Units" window, to open "Groups & Sites Management" dialog, which lists the sites and groups with their associated units.
GROUP_NEW contains recently added units associated to the system.
Every site is indicated by IP address. Selecting a site you can see the units it contains.
You can delete a unit from a group (for example, remove it from GROUP_NEW when it is associated to another group). First, select the group, then, select the unit, finally, click on the [X].
It is possible to block a mobile unit from the Console. The blocking type depends on the configuration of the WireLess Deployer Client on the PDA.
Select the mobile unit and press on [Block Unit] for the terminal to be blocked. Confirm the procedure on the dialog box that will appear immediately after pressing the button.
There are four possible blocking states for the mobile units:
 Mobile
unit unblocked.
Mobile
unit unblocked.
![]() Processing blocking request: A blocking request was performed, but the mobile
unit is not blocked yet.
Processing blocking request: A blocking request was performed, but the mobile
unit is not blocked yet.
![]() Unit blocked: The blocking request was processed and executed on the mobile
unit.
Unit blocked: The blocking request was processed and executed on the mobile
unit.
![]() Processing unblocking request: Un unblocking request was performed, but the
mobile unit is not unblocked yet.
Processing unblocking request: Un unblocking request was performed, but the
mobile unit is not unblocked yet.
The blocking/unblocking request is saved on the Console and sent to the mobile unit. When the unit receives it or when it gets connected to the Console, the request is processed by the PDA.