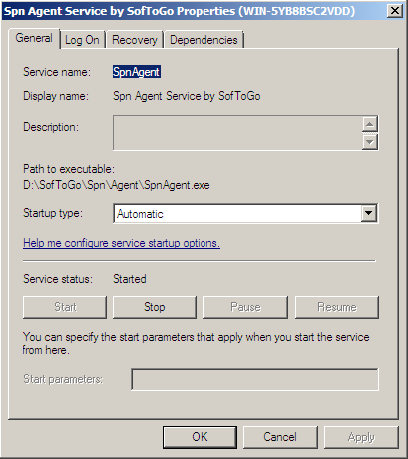
After you installed the Symphony client you have to verify if the service is started in the Agent window. If the state is set to Stopped press START button, and the state will change to Running.
It is necessary to perform an update for the changes made on the Symphony Console to be applied to the mobile units.
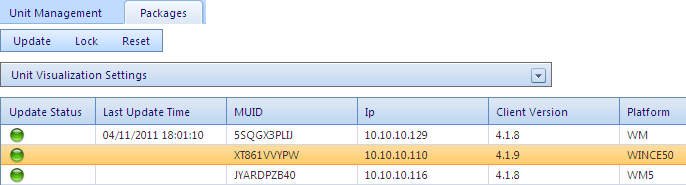
To update first go to the Packages tab on the Units Menu and click on a unit to select it, then press the button Update.
To Update a group of units you can make multiple selections making a click on the unit and hold the key Ctrl, also you can select a range of units with the Key Shift.
If you want to check the information about your mobile units go to the Units window.
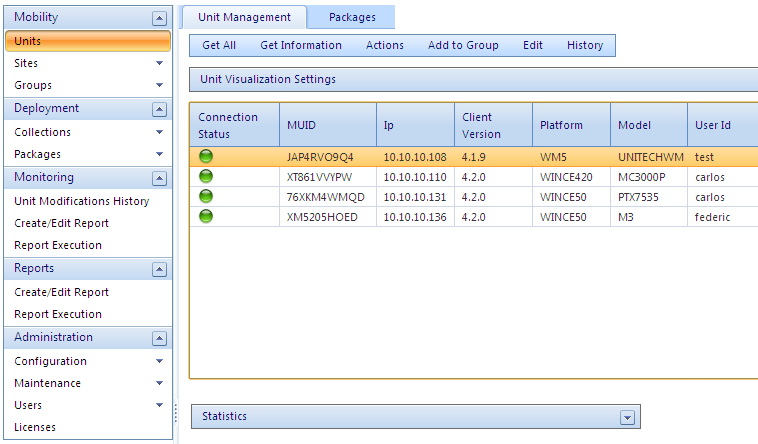
On the columns you can see the information from each unit. If the Connection Status icon is green it means that there are no new packages for this particular mobile unit If the icon is red, it means that there are new packages for this mobile unit. On the other columns you can see the ID of the Mobile Unit, the IP Address, the version of the Symphony/Wireless Deployer client, the Operative System from the PDA, the model and the user name chosen during the client installation.
You can send text messages to all the connected mobile units or to a specific one. Go to the Units window and click on the unit that you want to send a message. Then on the menu Actions, select Send a Message.
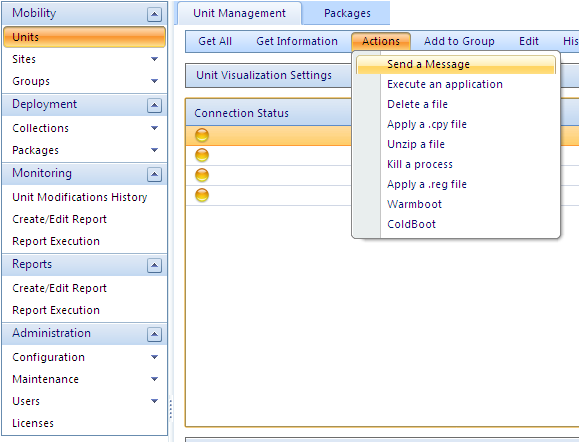
You will see a window where you will be able to write the text message and then click on send, the PDA will receive the message.

If you select more than one unit to Send the message both units will receive it.
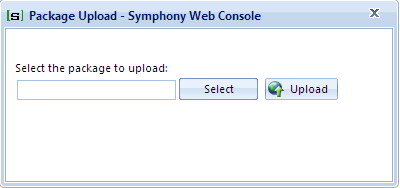
You can add packages on the Deployment section, on Management, clicking on the Package Upload button.
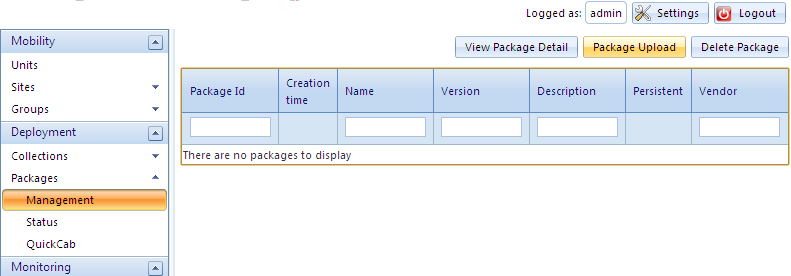
A window will appear and you will have to click on Select button to choose the package that you want to add, then click on the Upload button.
A site is a way to organize the units connected to Symphony using the information of their IP address so you can sort them by the place where are the units.
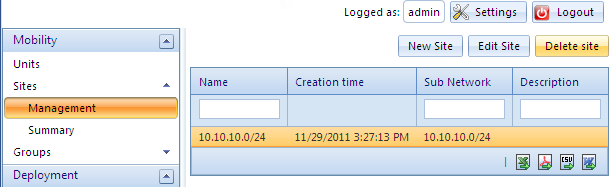
In the management tab you can see the options “New Site”, “Edit Site” and “Delete Site”. To create a new site just use the New Site button.

You will have to choose a name for the site and add the network address and it's routing prefix, then click on +Create site, you will see the created site on the list.

With the Edit Site button you can change those settings and you can eliminate it with Delete Site.
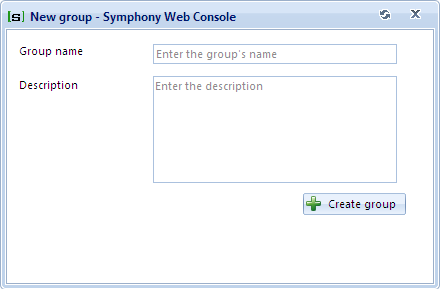
You can create groups to classify the units, this is an arbitrarily way to organize the units. In the management tab you can see the options New Site, Edit Site and Delete Site to create and modify the groups.
On the Units page, you can see the list of units connected to the console and different columns with their information, if you want, you can modify the columns, just go to the Units page (on the Mobility Module), make a click on the dropdown menu Unit Visualization Settings, on the frame Columns click on the button Change Unit Columns.
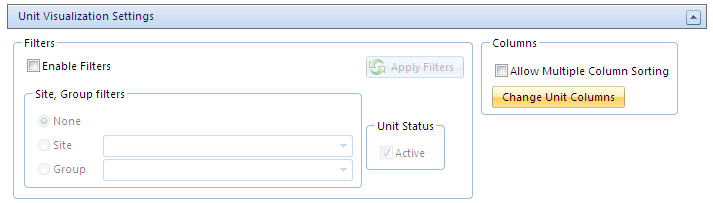
A new window will appear, you will be able to add new columns or to hide them selecting a unit and using the arrows to change it from Visible Column to Not Visible Columns.

Once you have done with the columns setting, click on the Save & Close button, also you can use the Default Columns button to go back to the initial configuration.
Once logged on the Symphony console you can access to the users settings by clicking on the Settings button on the top of the page at the right.

You will be able to select which units are visible on the console by filtering sites and groups. To select alias for the units columns, change the language and to change the password to login.
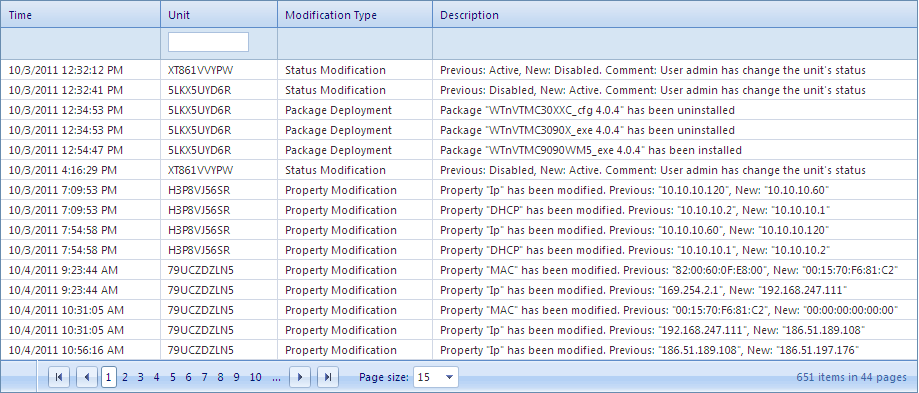
This page shows the changes applied to the units, everytime when a unit is modify through the console the action is logged on that list.
The modifications are classified in Status Modification,
Package Deployment, Package Deployment Error and Property
Modification.
You can apply filters like date, sites, groups and modification type.